
There is something quietly magical about walking into a bedroom where the walls, trim, doors, and even the ceiling are all the same color. The edges blur, the room feels wrapped up, and suddenly your bed becomes the star. That, in a nutshell, is color drenching, and it is one of my favorite tricks for making a bedroom feel calmer, cocoon-like, and intentionally designed, even if the space is tiny or the furniture is a little mix-and-match.
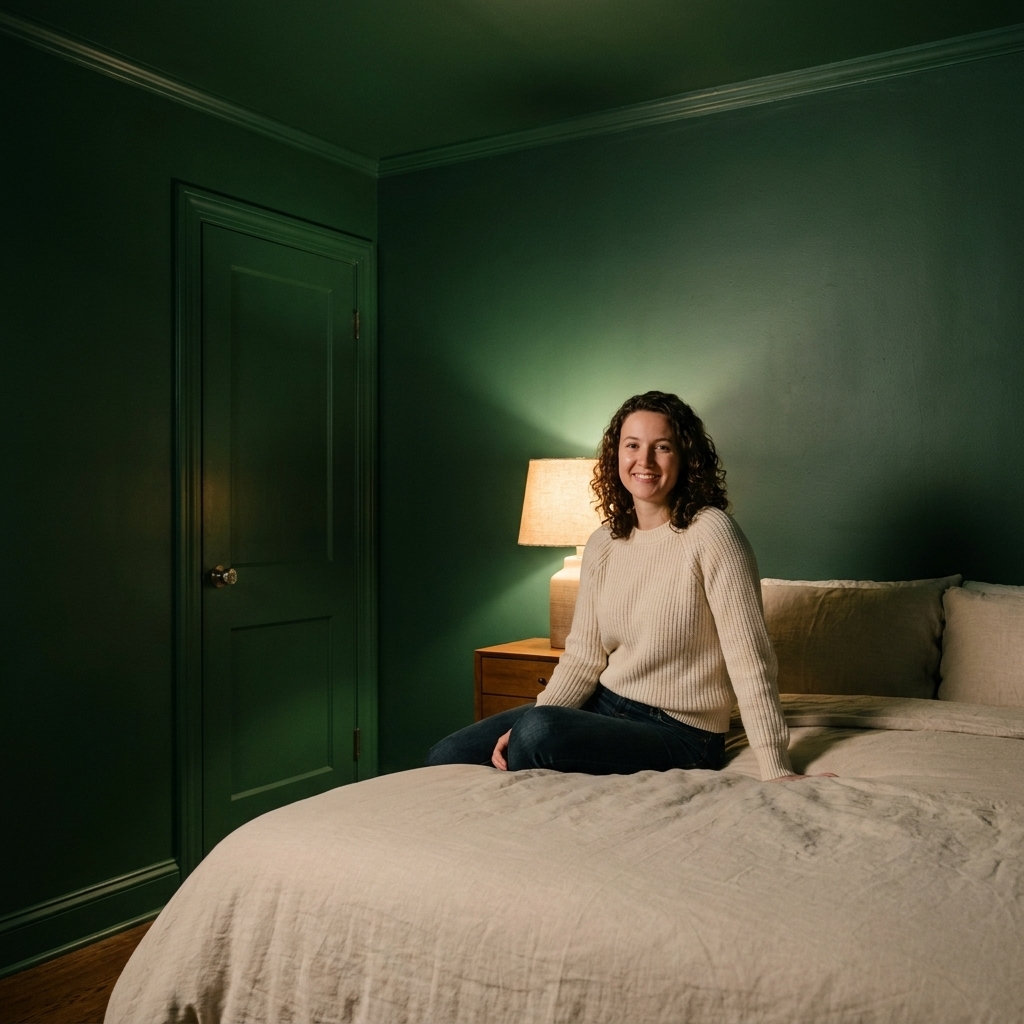
If you have ever wished your room felt more finished without buying a bunch of new stuff, this is the kind of project that delivers big mood for the price of paint and a weekend.
What it is
Color drenching is painting multiple surfaces in one room the same hue, typically:
- Walls
- Trim and baseboards
- Doors (and sometimes the door frame)
- Ceiling (and crown molding, if you have it)
- Sometimes radiators, built-ins, or shelving
The goal is not “matchy-matchy.” The goal is immersive. When the usual contrast between bright white trim and colored walls disappears, the room feels smoother and more enveloping, which is exactly what most of us want from a sleep space.
Why it works in bedrooms
It feels calmer
Fewer visual breaks equals less mental noise. In a bedroom, that is gold.
It can read bigger
This sounds backward, but it often works. When your eye is not stopping at high-contrast trim lines, the perimeter can feel more continuous, especially in awkward layouts. It is not a guarantee in every room, but it is a common “wait, why does this feel larger?” effect.
It softens awkward details
Rental-grade trim, mismatched doors, patched walls, odd soffits. A single color can help those elements recede and look more cohesive.
Choosing a bedroom color
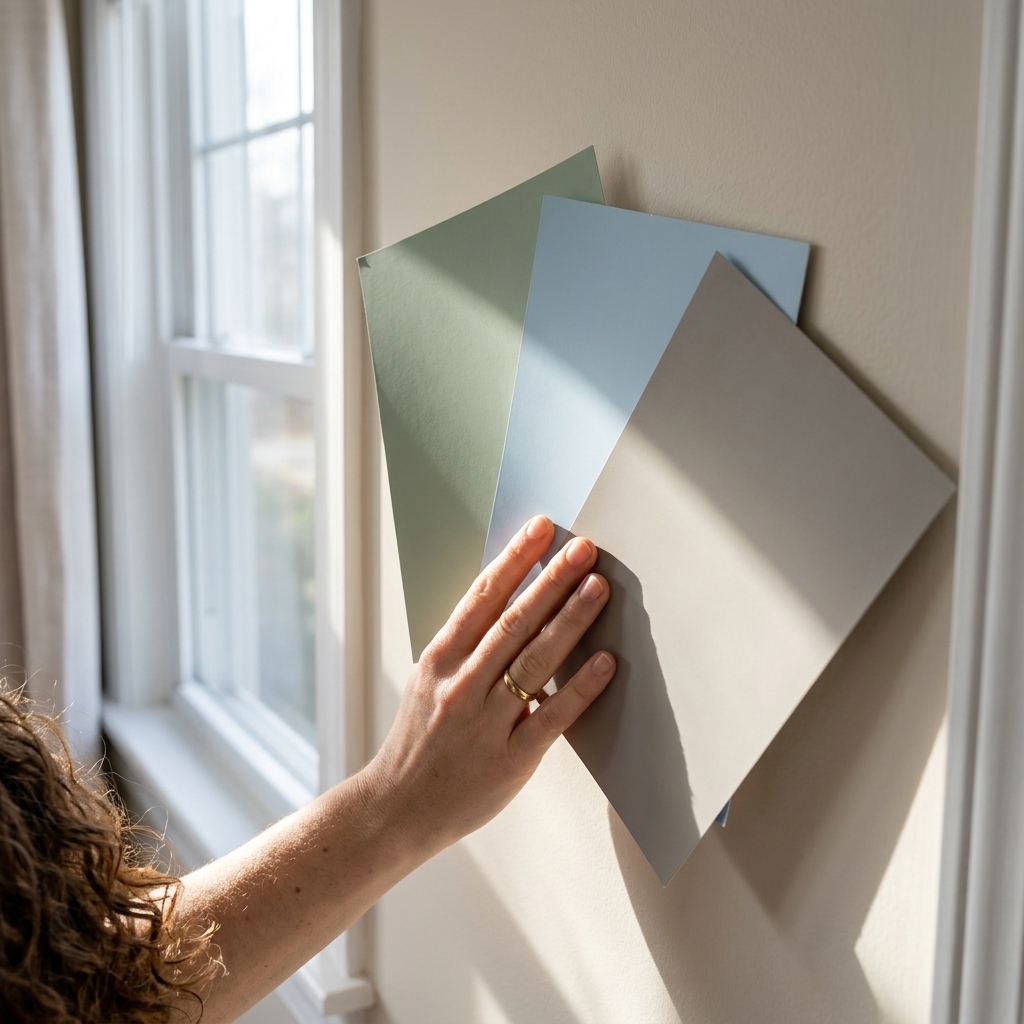
Color drenching is bold, but your color choice does not have to be loud. My best advice is to start with the mood you want at night, not what looks cute in daylight on your phone screen.
My coziest picks
- Smoky green (sage, olive, deep forest): soothing and warm, great with wood tones and brass.
- Dusty blue (slate, denim, stormy blue): calm and classic, especially with crisp white bedding.
- Mushroom and warm taupe: perfect if you love neutrals but want that wrapped-in-a-blanket effect.
- Soft charcoal: dramatic without being harsh, and it makes lamps look extra glowy.
- Muted mauve or clay rose: flattering and cozy, especially with linen, rattan, and warm metals.
Undertone tip
Look at the color next to your fixed elements: flooring, large rug, and bedding. If your floor reads orange or honey, many cool grays and icy blues will fight it. If your floor is cool-toned, overly warm beiges can look a little yellow. When in doubt, pick a color with a soft, muddy undertone. Those blend more gracefully with real-life materials.
Paint the ceiling?
If you want the full cocoon effect, yes, paint the ceiling. It is the step that takes color drenching from “coordinated” to “immersive.”
That said, there are a couple of times I would consider leaving the ceiling alone:
- Very low ceilings and you know you personally hate darker ceilings. (Some people find it cozy, others feel closed in.)
- Heavily textured ceilings that you cannot smooth and do not want to emphasize.
- You are testing the idea and want to start with walls and trim first.
A happy compromise is painting the ceiling the same hue but using a flatter sheen than the walls so it visually recedes.
Sheen choices
When everything is the same color, sheen becomes your best friend for subtle dimension. You can use one sheen everywhere, but I prefer a small shift between surfaces.
My go-to combos
- Walls: eggshell or matte (matte looks dreamy, eggshell is easier to wipe)
- Trim and doors: satin (or semi-gloss if you want more durability and “snap”)
- Ceiling: flat or matte
Same color plus different sheens creates that designer look where everything feels intentional, not like you ran out of paint and just kept going.
Before you paint
I am all for a cozy weekend project, but a drenched room can highlight flaws depending on light and sheen. The shinier the paint and the more raking light you have (like strong sun across a wall), the more every bump and patch will show. Clean prep is what makes the finish look expensive.
Prep checklist
- Patch and sand nail holes and dents, especially along baseboards and around switches.
- Degloss trim if it is glossy. A light sanding or a liquid deglosser helps paint grip.
- Use a bonding primer on slick, glossy trim, stained wood, or anything you suspect was painted with oil-based paint in the past.
- Caulk gaps where trim meets wall for that seamless look.
- Clean baseboards and doors. Dust is the enemy of smooth paint.
- Prime if you are covering stains, switching from oil to latex, or going much darker or much brighter.
- Protect floors and label hardware if you are removing knobs, hinges, or curtain brackets. A little masking tape label saves so much frustration later.
If you are in a rental, check your lease. Painting is sometimes allowed with written approval, and it is worth getting it in writing before you buy gallons of moody green.
How to paint
This order keeps the project feeling manageable and helps you avoid bumping into freshly painted areas.
- Ceiling first (always). Cut in, then roll.
- Walls next. Cut in around trim and corners, then roll.
- Trim and baseboards. A good angled brush and patience go a long way.
- Doors last. Remove knobs if you can. Paint in thin coats to avoid drips.
Tools that help
- 2-inch angled sash brush for cutting in and trim
- Microfiber roller (3/8 inch nap for smooth walls, 1/2 inch for lightly textured)
- Painter’s tape for protecting hardware and hinges
- Drop cloths that do not slide (canvas is great)
- Small foam roller for doors for a smoother finish
Bedroom-specific reality check: plan for dry time and fresh air. Most paints feel dry to the touch within hours, but they still need time to harden. Keep windows cracked, run a fan if you can, and avoid pushing the bed back against freshly painted walls too soon. If you are sensitive to odor, choose a low-VOC option and give yourself a little more ventilation time before sleeping in the room.

Common mistakes
Not testing at night
Your bedroom lives in lamp light and low light. Tape up large samples and look at them in the evening. Some colors turn muddy, some turn neon, and some become perfect.
Skipping primer on trim
Trim often has old glossy paint. Without proper prep and primer, your beautiful new finish can scratch more easily.
Too much gloss
High-gloss walls and ceiling can feel like a shiny box, and they tend to highlight wall texture. If you want cozy, keep the shine mostly to trim and doors.
Forgetting the little interruptions
Switch plates, vents, and outlet covers stand out more in a drenched room. The easiest, cleanest option is to buy new covers in a matching color. If you do paint covers, remove them first and keep paint well away from the receptacle and any electrical parts so everything fits back properly.
How to style it
Once the room is one hue, texture becomes the star. This is my favorite part.
Layer textiles
- Start with breathable sheets (linen or cotton percale)
- Add a quilt or coverlet for daytime structure
- Finish with a duvet and one extra cozy throw at the foot of the bed
- Mix pillow textures: linen, velvet, knit, or a vintage batik find
Use material contrast
- Light bedding against deep walls looks crisp and hotel-calm.
- Warm wood nightstands soften cool colors.
- Brass or aged bronze hardware pops beautifully in moody rooms.
- Black accents add structure in pale drenched rooms.
Get the glow right
Color drenching loves layered light. Aim for:
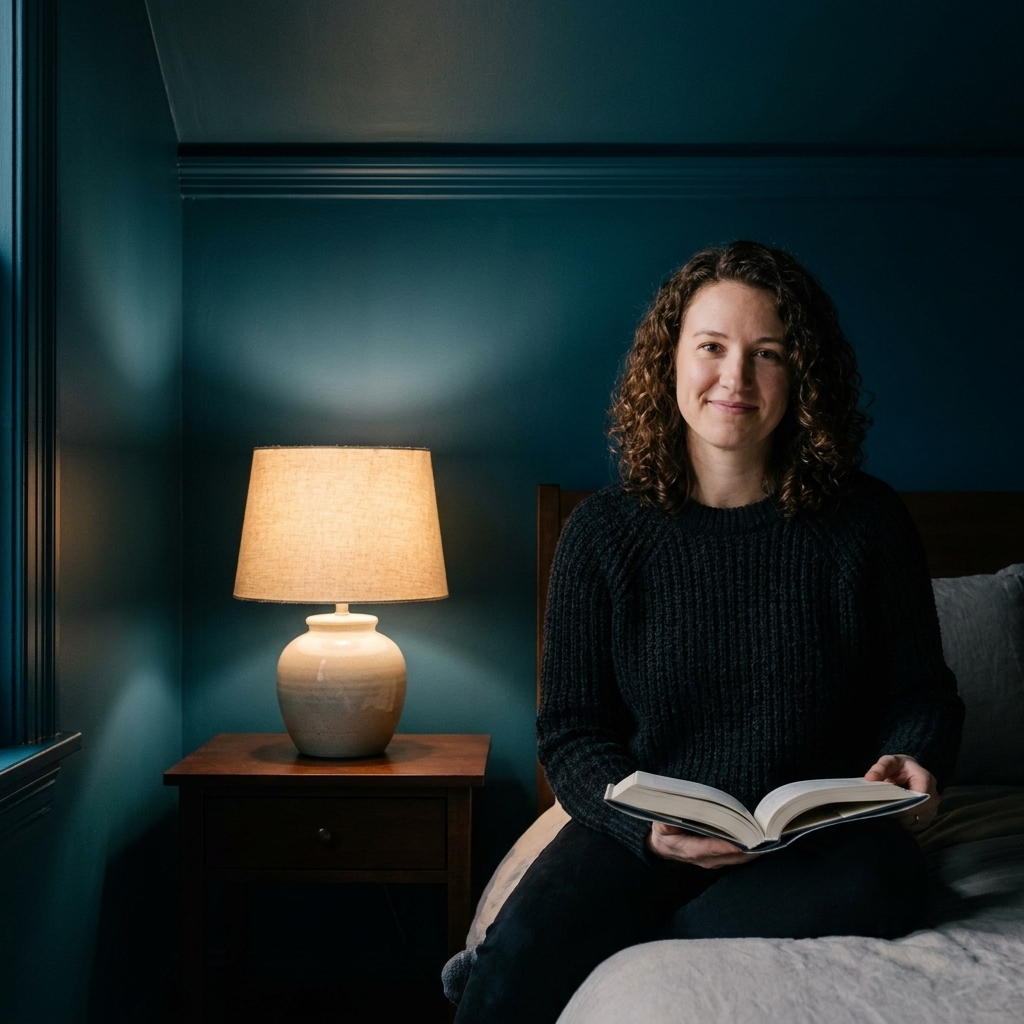
- Two bedside lamps with warm bulbs (2700K is my sweet spot)
- A dimmable overhead option if possible
- One soft extra light source, like a paper lantern lamp or a small plug-in sconce
Room-by-room picks
Small bedroom
Try a mid-tone that is not too stark: dusty blue, mushroom, olive. Pair with lighter bedding and one mirror to bounce light.
Low natural light
Warm undertones usually feel cozier: clay, warm taupe, deep green. Add more lamps than you think you need.
High ceilings
Go ahead and be dramatic. Deeper hues look stunning when the room has height, and painting the ceiling brings everything down into a more intimate scale.
Lots of white furniture
Color drenching is a dream here. White furniture becomes sculptural against a saturated backdrop. It looks curated with minimal effort.
Planning paint
If you want this to feel like a smooth weekend instead of a frantic mid-project paint run, do a quick quantity check.
- Coverage math: most paints cover roughly 350 to 400 square feet per gallon per coat. Measure the room perimeter and height for walls, and do not forget doors and trim.
- Assume two coats, especially for deeper colors, big color changes, or if your walls are thirsty and matte.
- Buy by surface: walls, trim, and ceiling often use different products even when tinted to the same color formula. That is normal, and it helps performance.
FAQ
Is it only for dark colors?
No. Pale colors can be gorgeous drenched, especially warm off-whites, blushy neutrals, and soft sage. The effect is more airy than dramatic, but still very cohesive.
Will it feel smaller?
Not automatically. If you choose a color you enjoy living with and balance it with good lighting and contrast in bedding, color drenching often makes the room feel more continuous and less chopped up.
Do I need to match paint across products?
Yes, but you can do it easily. Have the paint store tint the trim enamel and the wall paint to the same color formula. The sheen and base product can differ, the color can stay consistent.
What if my trim is stained wood?
You can still color drench, but it is a commitment. You will need proper prep, a bonding primer, and usually multiple coats. If you love the wood, consider keeping it and drenching only the walls and ceiling. It is a softer version of the trend and can look very intentional.
A starter plan
If painting everything sounds like a lot, ease in:
- Paint the walls and the door the same color.
- Next, paint baseboards and window trim.
- Finally, decide on the ceiling.
Even partial drenching gives you that wrapped, cohesive feeling. And if you do go all-in, take your time with prep and sheen choices. Your bedroom will feel like a little retreat, the kind you actually want to crawl into early with chamomile tea and a good mystery novel.