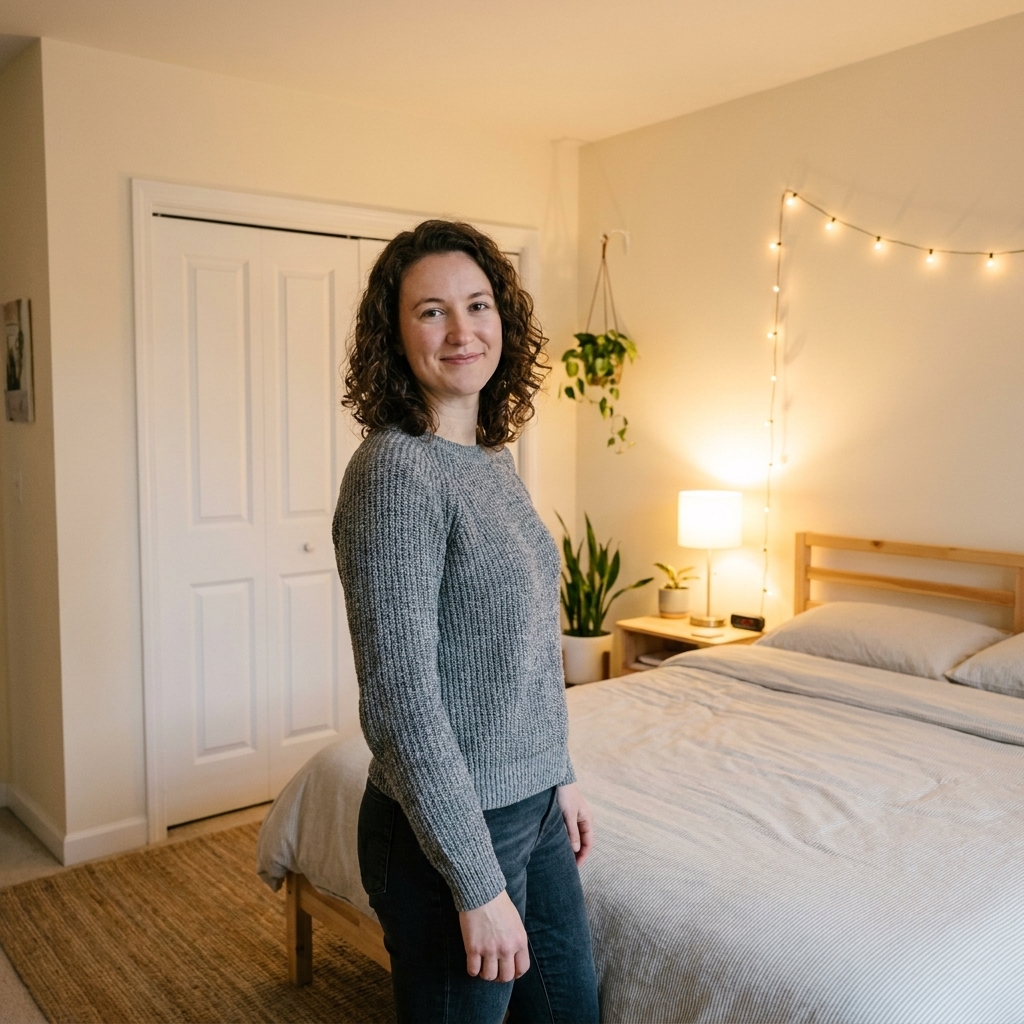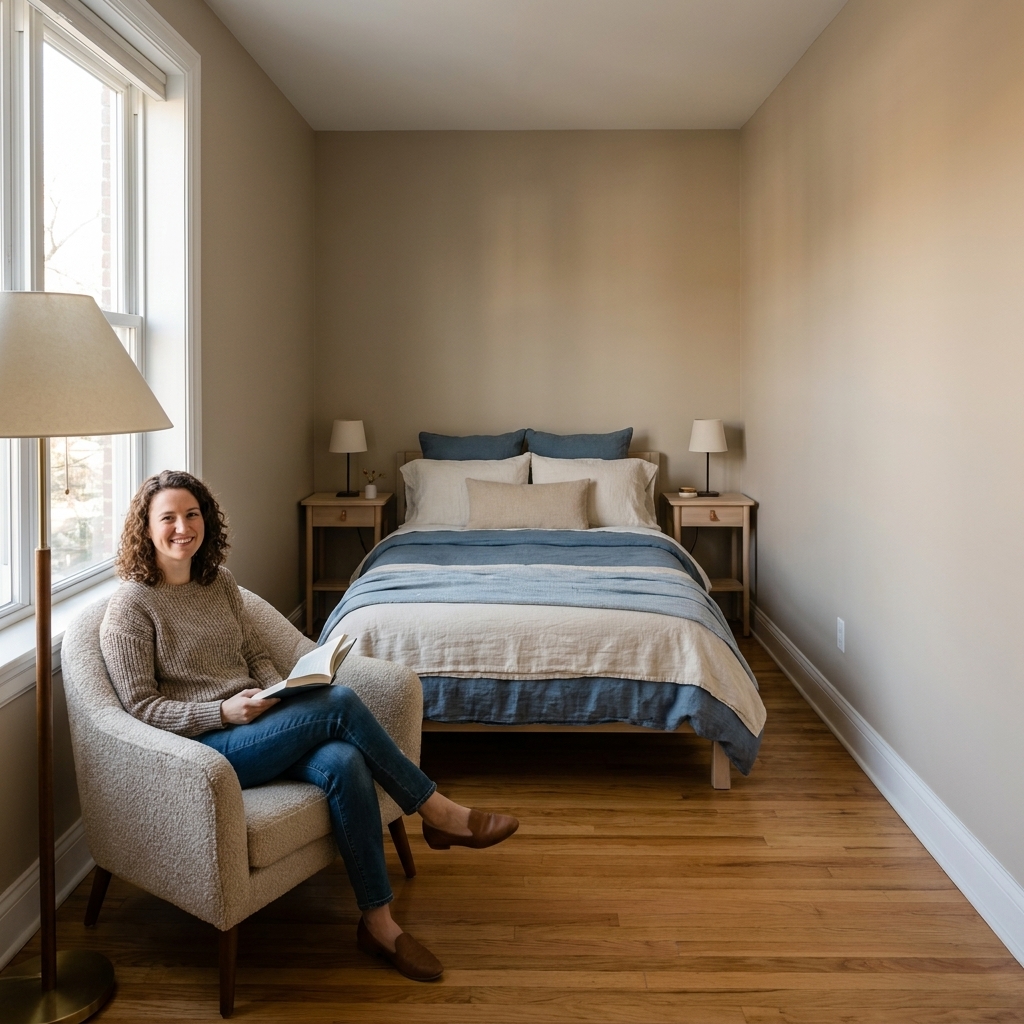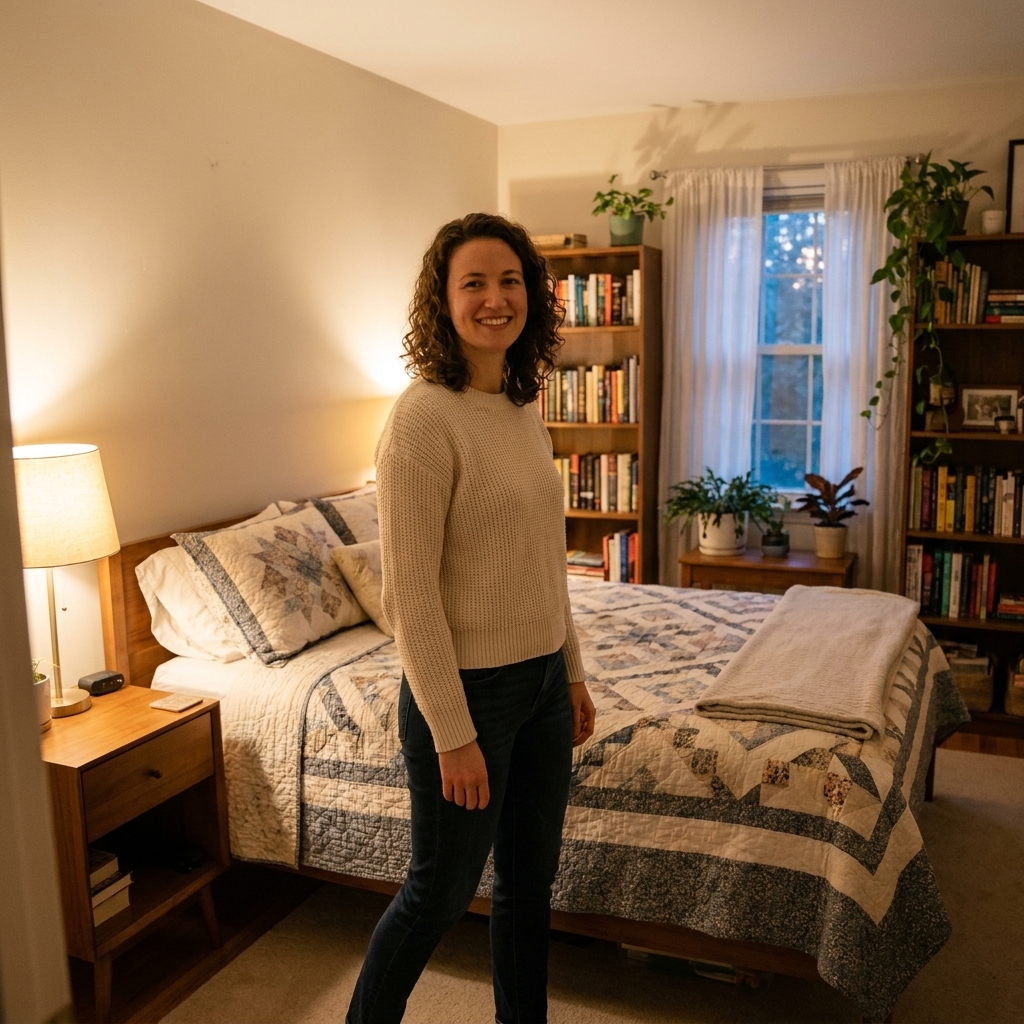
Shared rooms can be incredibly sweet, but let’s be honest, they can also feel like a game of bedroom Tetris. Two twin beds take up visual and physical space quickly, and if you place them without a plan, you end up with awkward walking paths and zero play area.
The good news: you do not need built-ins or a bigger room. The layout is the magic. Below are five furniture configurations I’ve used (and re-used) in real rentals and tiny bedrooms to carve out floor space and give each sleeper a sense of their own zone.
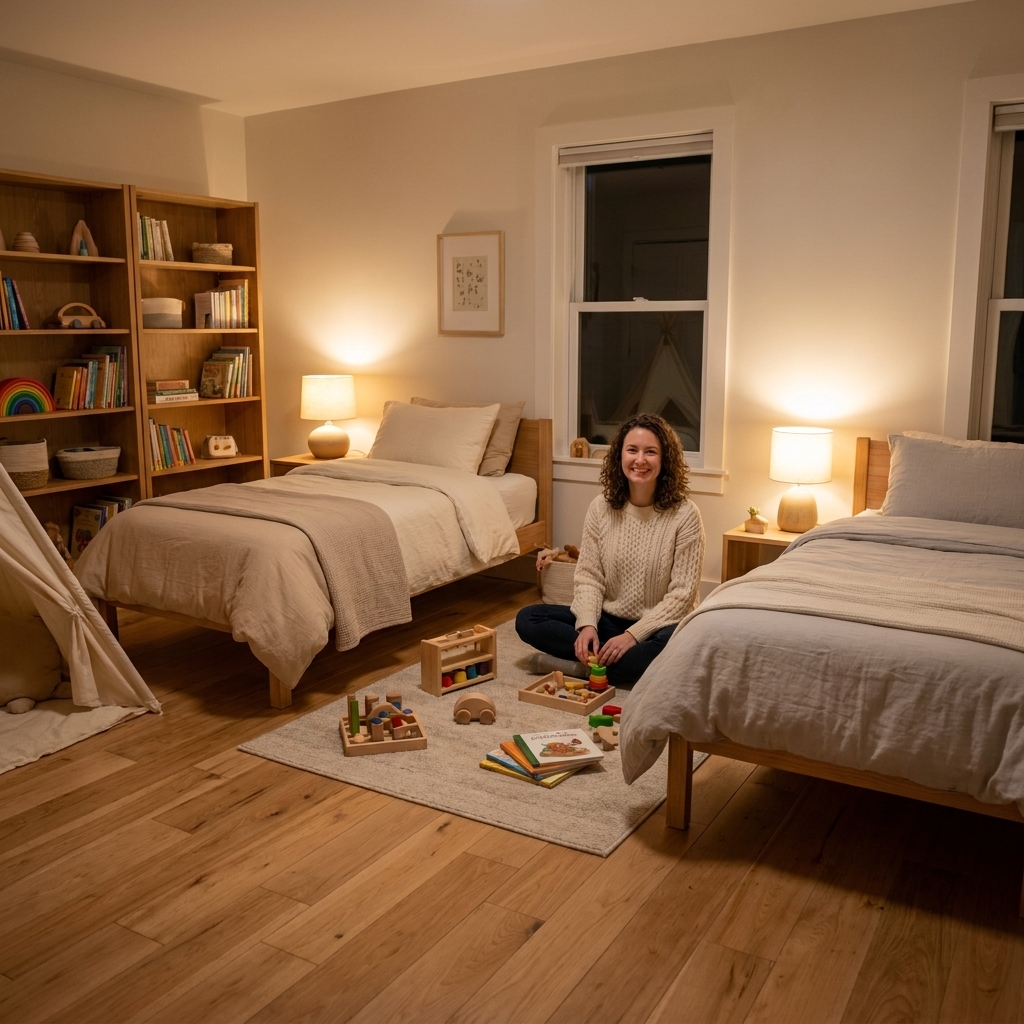
Before you move anything: quick measuring rules
Every configuration below works best when the basics are covered. Grab a tape measure and check these five things first.
- Clear walking space: Many designers aim for 30 to 36 inches on the main path to the door. If you are working with a truly small room, 24 inches can still function, it just needs to stay clutter-free.
- Bed access: If a bed is against a wall on one long side, plan for how sheets get changed. A fitted sheet wrestling match is not a lifestyle.
- Door and closet swing: Make sure doors can open fully, or at least comfortably, without smacking a bed corner.
- Vents, radiators, and returns: Do not block airflow. Leave space around floor vents and keep beds and curtains away from radiators.
- Windows and outlets: Keep at least one window easy to reach (especially if it is used for egress). And before you commit to a layout, check where outlets land so lamps and chargers do not require a cord obstacle course.
1) Parallel twins along one wall (the “long wall” layout)
Best for: Narrow rooms, shared rooms that also need a play zone, siblings who like being close.
This is my favorite when a room is long and skinny. Place both twin beds side-by-side along the same long wall with a small gap between them. You instantly open up a big, uninterrupted floor area on the opposite side for play, a desk, or extra storage.
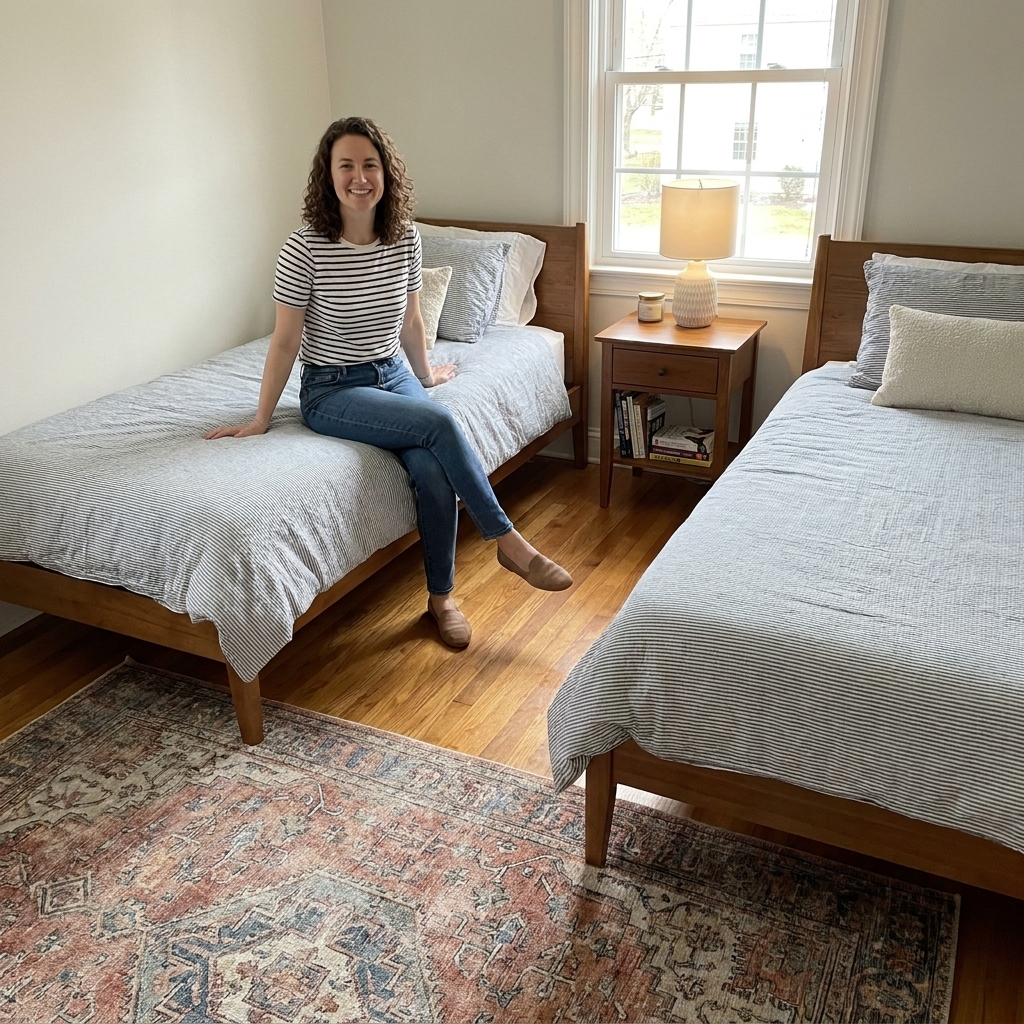
How to make it feel intentional
- Use a shared nightstand or a slim cube shelf between the beds so each child gets a surface.
- Give each bed its own light via clip-on reading lamps or plug-in wall sconces so nobody fights over the switch.
- Create subtle separation with two different throw blankets or pillow shams, same color family so it still looks calm.
Privacy tip
If the kids want a bit of personal space, place a tall, narrow bookcase between the beds instead of a nightstand. Anchor it to the wall for safety, and style it with baskets for nighttime essentials.
2) Twins on opposite walls (the “classic across” layout)
Best for: Medium-width rooms, kids who need breathing room, early risers sharing with sleepyheads.
Put each twin bed along opposing walls with a walkway down the middle. This gives each child a clearly defined “side,” which is huge for harmony. It also makes it easy to add a desk, dresser, or toy storage at the far end of the room.
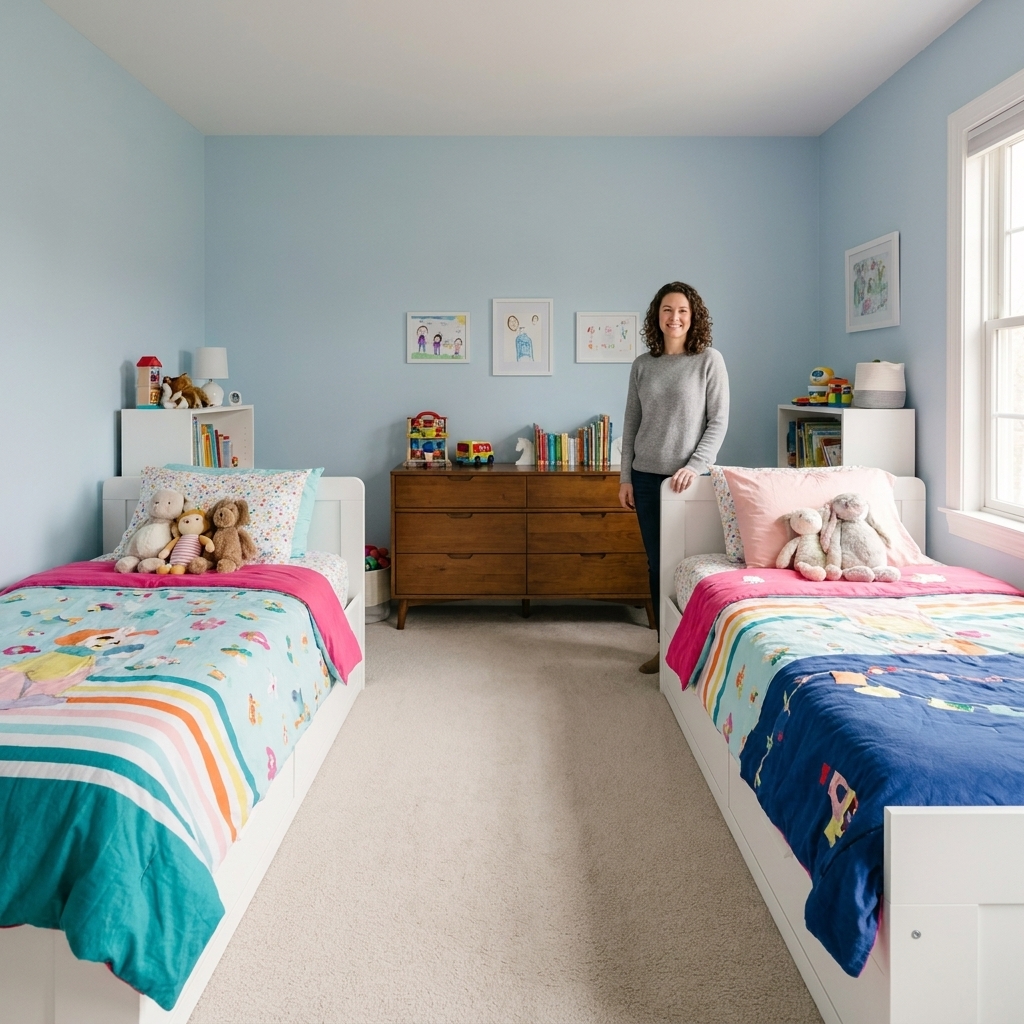
Make the middle work harder
- Add a washable runner rug down the center to soften the walkway and reduce noise.
- Use under-bed storage on both sides to keep the middle path clear. Matching bins make it look tidy fast.
- Keep nightstands slim or swap them for wall-mounted shelves to avoid bumping hips in tight spaces.
Privacy tip
A simple curtain on a ceiling track can create a soft divider down the middle for bedtime routines. Keep it lightweight so it does not block airflow, and position it so it cannot tangle with closet doors or vents.
3) L-shape in a corner (the “right angle” layout)
Best for: Square rooms, rooms with one awkward window placement, kids who like a little separation without being far apart.
This setup places the beds in an L shape, usually sharing a corner. One bed runs along one wall, the other bed runs along the adjacent wall. It naturally creates zones and often opens up a surprisingly usable rectangle of floor space.
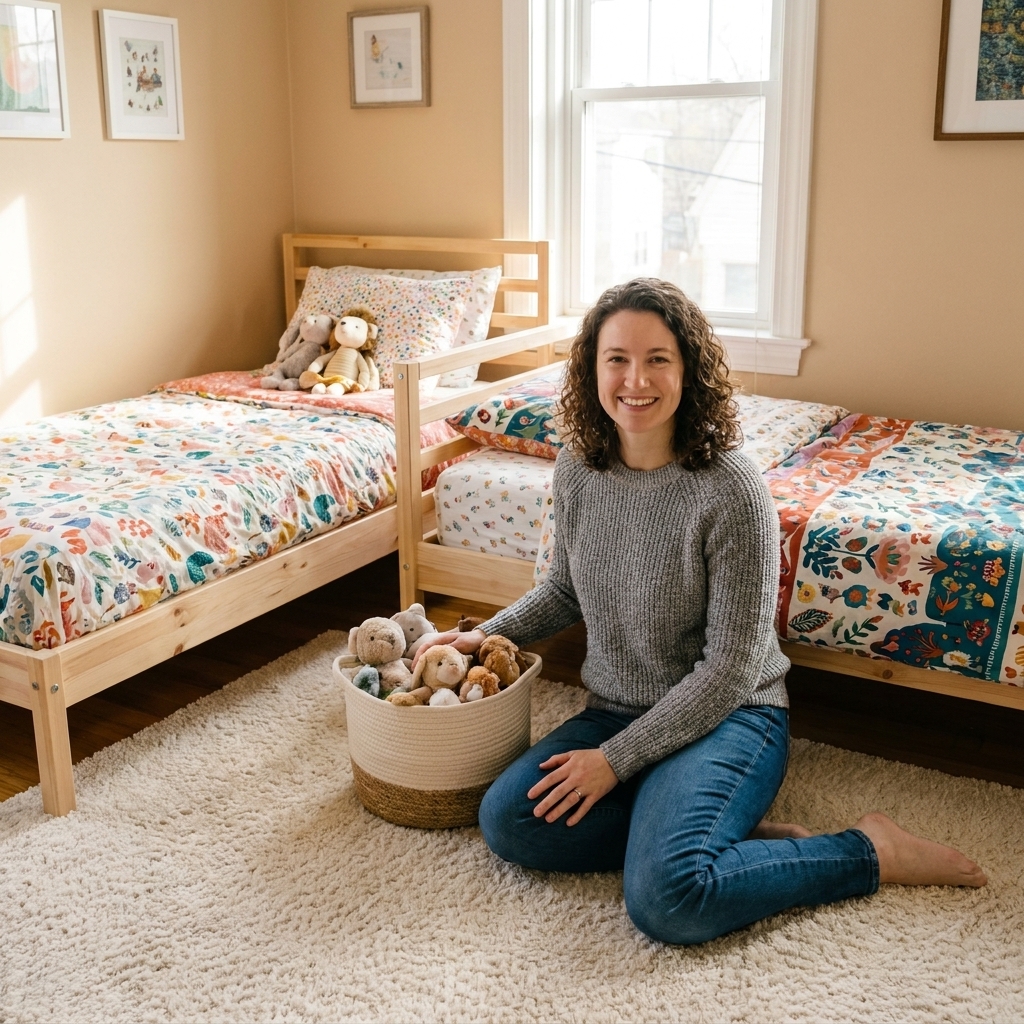
Styling that makes it feel cozy
- Anchor the corner with a large pillow or plush back cushions so the shared corner feels like a lounge spot by day.
- Use a corner shelf or small round table where the beds meet for books and water cups.
- Layer lighting with one overhead plus two bedside lights so no one has to live under the big light.
Privacy tip
Add a tall, narrow bookshelf at the foot of one bed to break sightlines just enough for “this is my zone” energy.
4) Head-to-head with a center table (the “butterfly” layout)
Best for: Rooms where one wall must stay open, kids who want equality, sleepovers and flexible play space.
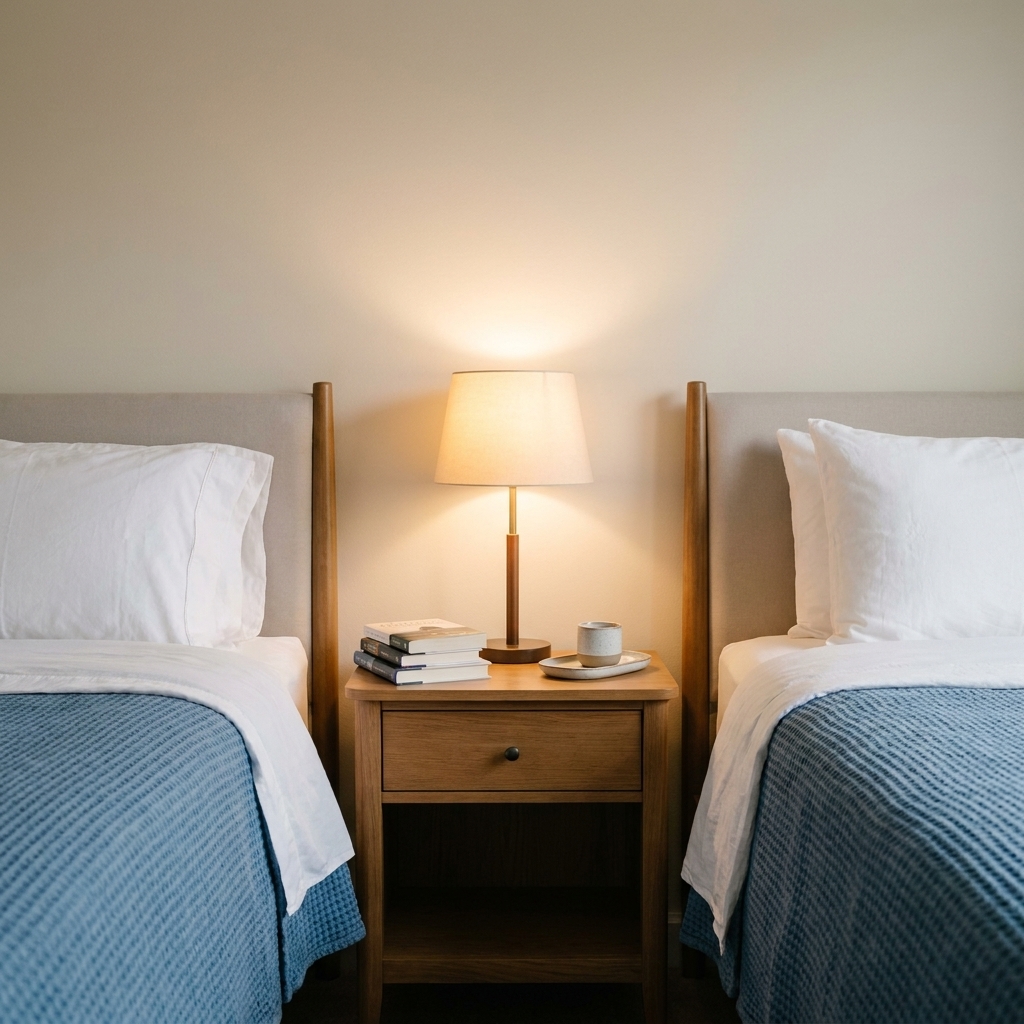
This one feels designer-y, but it is basically just clever. Place the twin beds so their headboards meet in the center, with a shared table or low dresser between them.
Most of the time, the beds line up in a straight row. If you have an odd bump-out, a radiator you need to avoid, or a doorway that steals a corner, you can angle the beds slightly to soften tight clearances while keeping the same “shared center” idea.
The result: both beds get a sense of their own space, and the room gains a central anchor piece that hides cords and holds books.
What makes it work
- Choose a sturdy center piece that is at least as tall as the mattresses, so pillows do not slide into the gap.
- Use matching lamps or matching plug-in sconces for a balanced look that feels calm at bedtime.
- Plan outlets early so cords run behind the center piece, not across the floor. A cord cover can help if you are in a rental.
- Keep the foot of each bed clear so the room does not feel jammed the moment you walk in.
Privacy tip
Go a little taller with the center table, like a small bookcase-height unit, and you get a built-in visual divider without adding another piece of furniture.
5) Bunk beds or a loft plus a twin (the “vertical space” layout)
Best for: The smallest rooms, kids who need a big play area, siblings with different bedtimes (with the right setup).
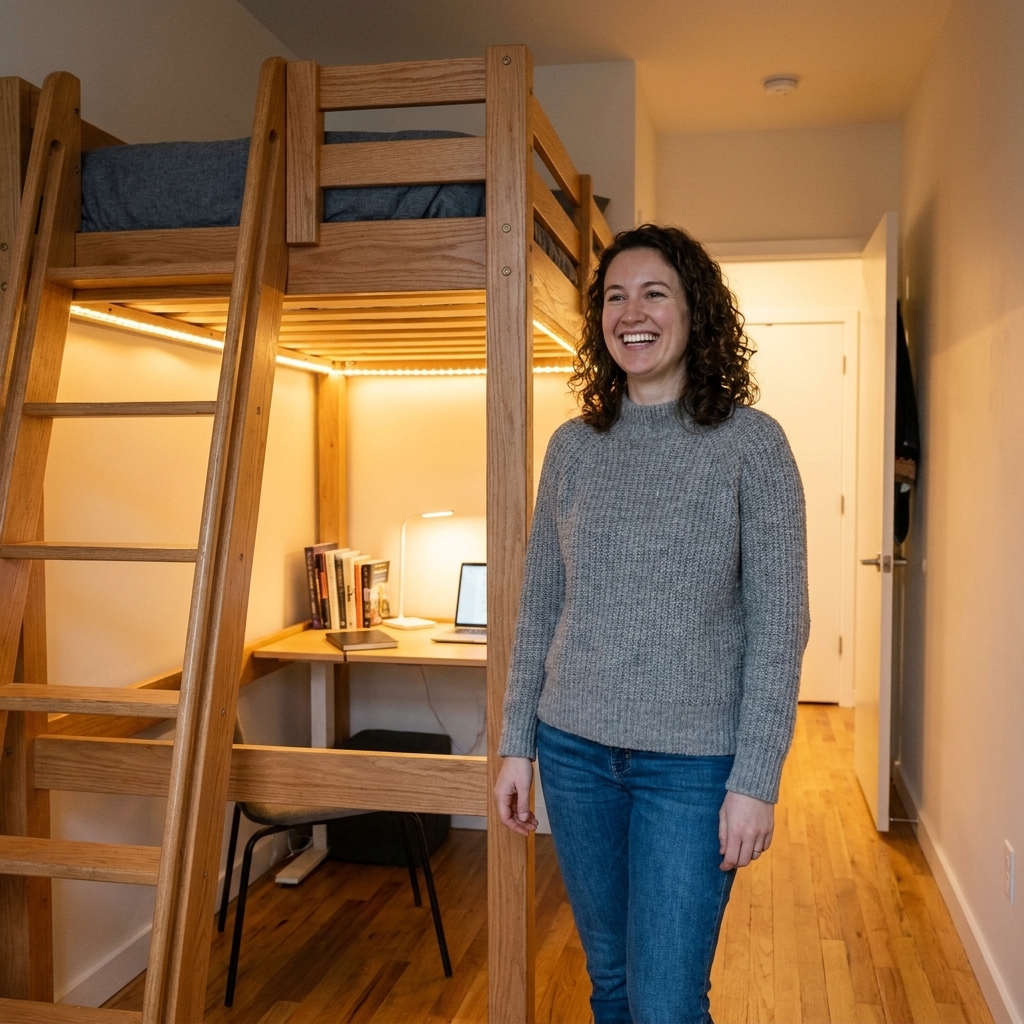
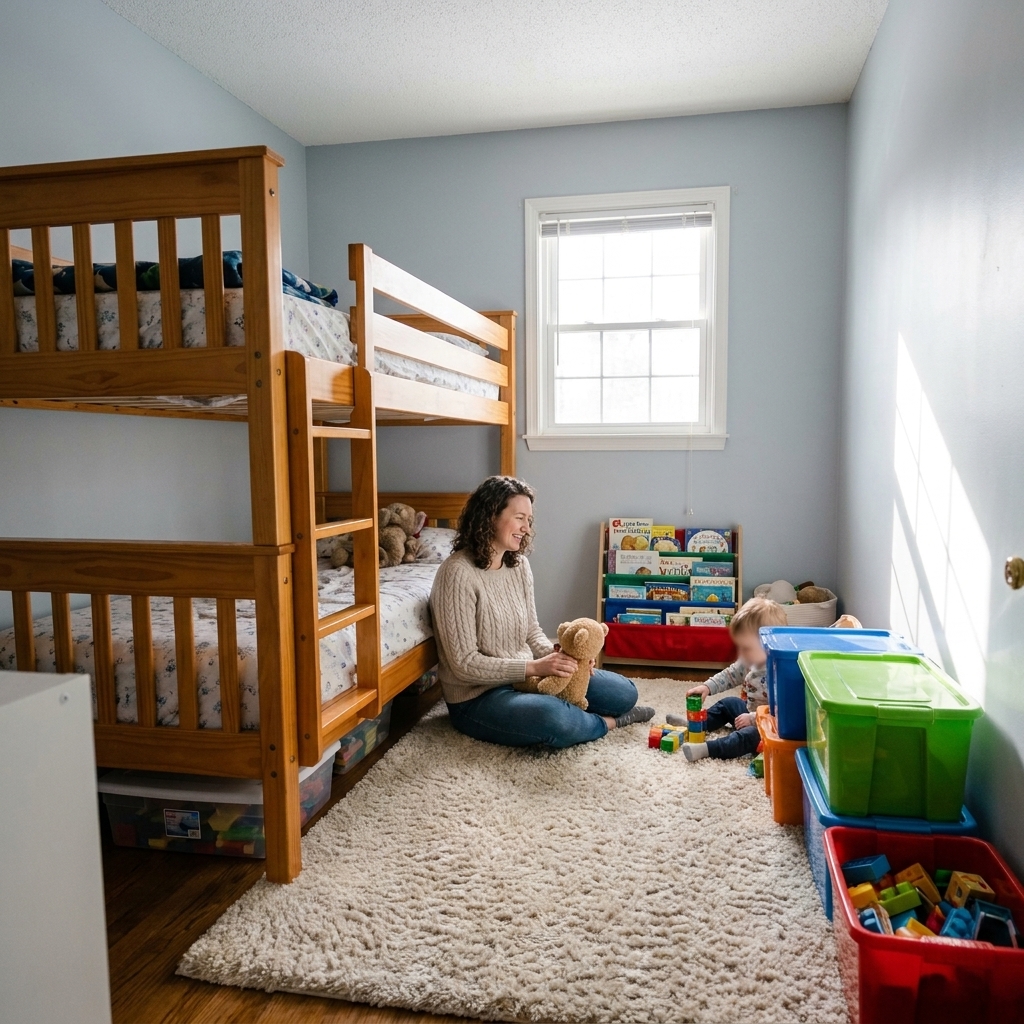
If your shared twin bedroom is truly tight, you may need to think vertically. A twin-over-twin bunk or a loft bed with the second twin beneath or nearby can free up enough floor space for toys, a reading nook, or even a second desk.
Make vertical sleep feel cozy, not cramped
- Use warm lighting like clip-on lamps for each bunk so both kids can wind down without blasting the overhead light.
- Add a fabric pocket organizer on each rail for books, stuffed animals, and water bottles.
- Choose light bedding (think breathable cotton or linen blends) so bunks feel airy.
Safety note (worth reading)
Always follow the bed manufacturer’s guidance for weight limits, guardrails, and setup. Many manufacturers recommend the top bunk for kids 6+. If you add clip-on lights or charging cords, secure and route cords so they cannot snag or dangle. If you add fabric for coziness, keep it lightweight, well away from ladders and guardrails, and never so enclosed that it affects airflow.
Easy ways to give each child their own space
Even with the perfect bed placement, shared rooms work best when everyone has something that is “theirs.” These are my go-to tricks that do not require extra square footage.
- Two bedside baskets: One per child for books, fidgets, and small treasures.
- Separate art zones: A corkboard, a small ledge shelf, or a framed print above each bed to personalize without visual chaos.
- Color cues: Keep the big pieces consistent, then let each child pick one accent color for pillows or throws.
- Sound softening: Add one large rug and fabric window treatments. Shared rooms get loud, and soft surfaces help.
Quick layout troubleshooting
“There’s no room for nightstands.”
Try a wall shelf the size of a paperback, or a bedside caddy that slips under the mattress. Add a plug-in sconce so the surface can stay small.
“The room feels fair, but it looks messy.”
Use matching bedding in a calm base color and let the personality come from throws and pillows. Visual sameness on big items makes small rooms feel instantly quieter.
“One kid gets the better spot.”
When possible, give each child one “premium” thing. If one bed is by the window, the other gets the bigger nightstand. If one has a reading nook, the other picks the wall art. Balance matters more than perfection.
“The only place the bed fits is near a vent or radiator.”
Try rotating the bed so there is a little breathing room, or switch to a slimmer headboard and pull the frame off the wall. If you are stuck, prioritize keeping vents clear and curtains away from heat sources, then use a warm rug and layered bedding for comfort.
Cozy shared-room finishing touches
Once the beds are in the right place, a few small upgrades make a shared bedroom feel like a retreat instead of a crash pad.
- Warm bulbs: Look for soft white, around 2700K, for bedtime-friendly light.
- Layered textiles: A quilt plus a throw at the foot of each bed reads finished and inviting.
- One “bridge” element: A single large rug, a shared gallery wall, or matching curtains to visually tie both sides together.